
Last updated August 26, 2026
Free visual inspection and a written scope of work before any mitigation begins - photos, moisture readings, and drying logs go in your claim file
The scope we write is the scope we bill. Anything new gets shown to you, in writing, before we touch it.
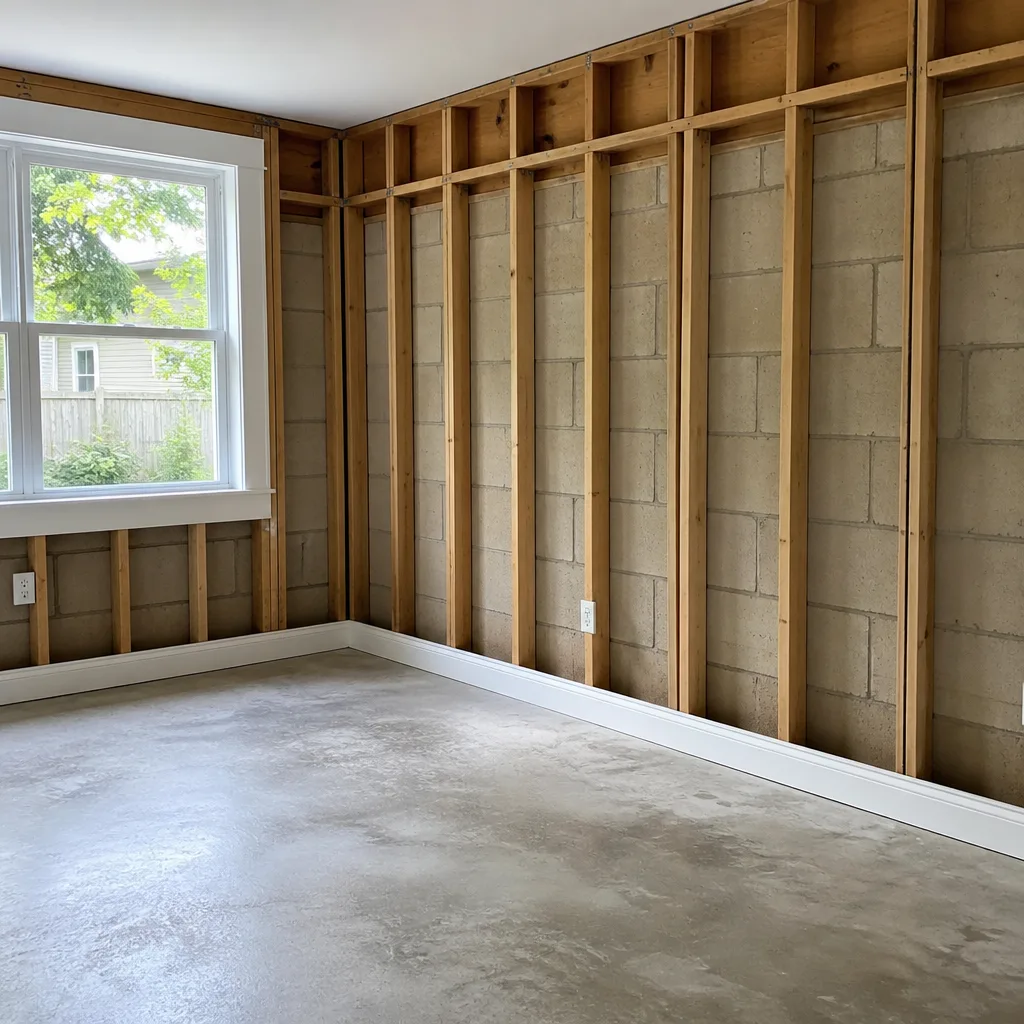
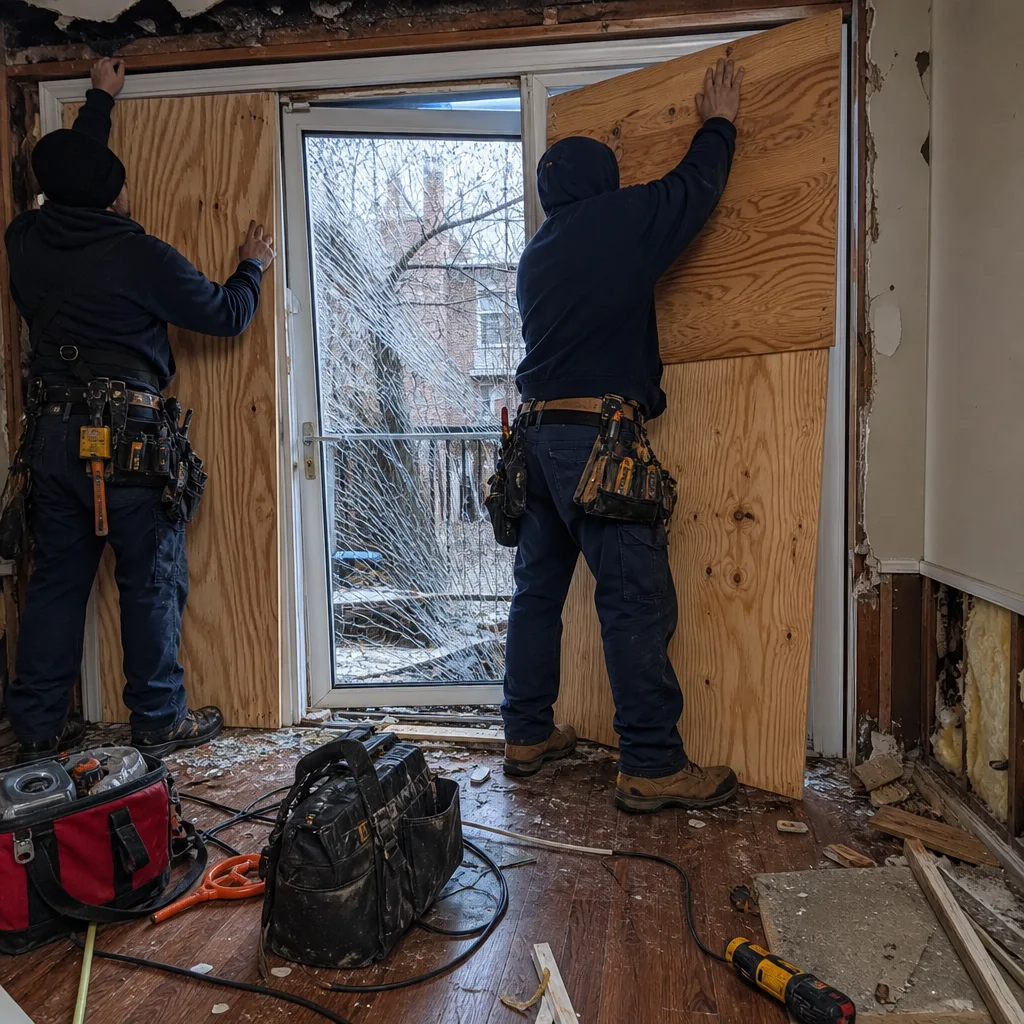
 Before
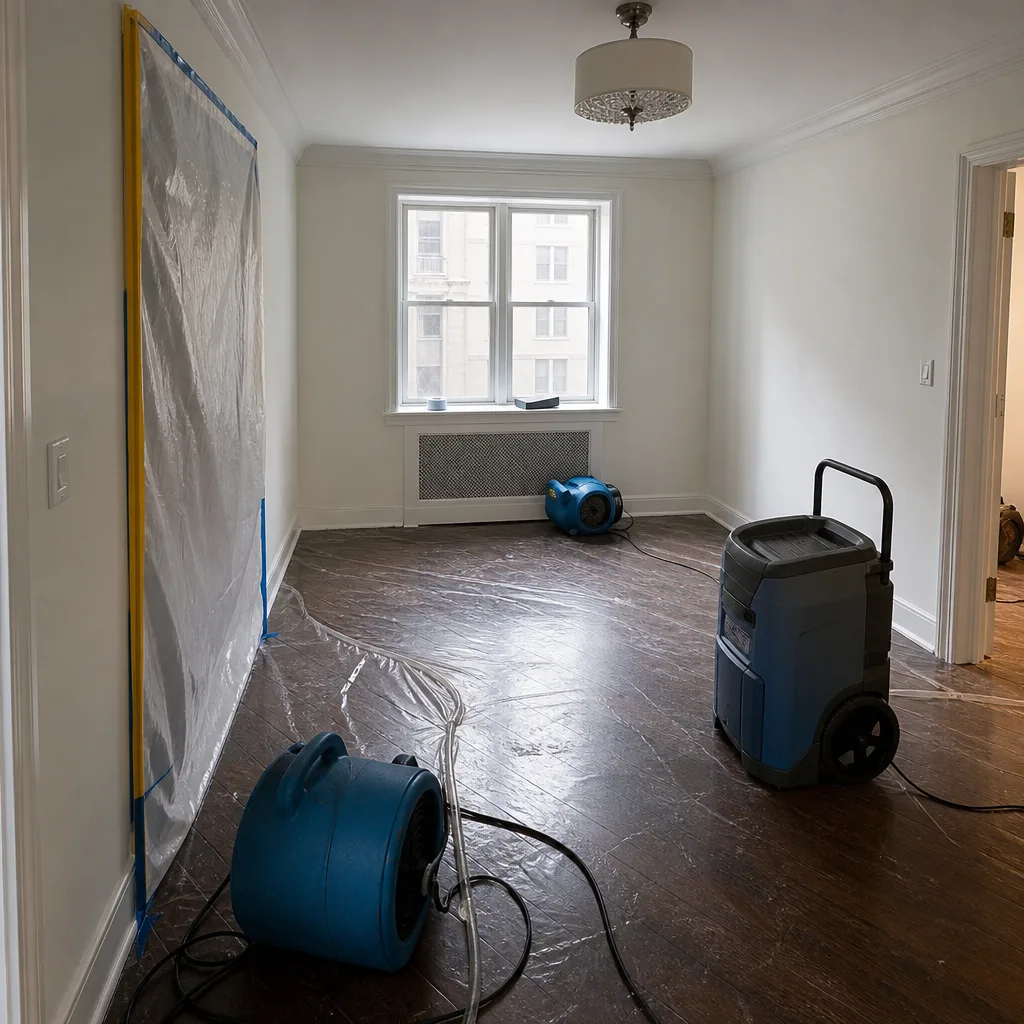 After
After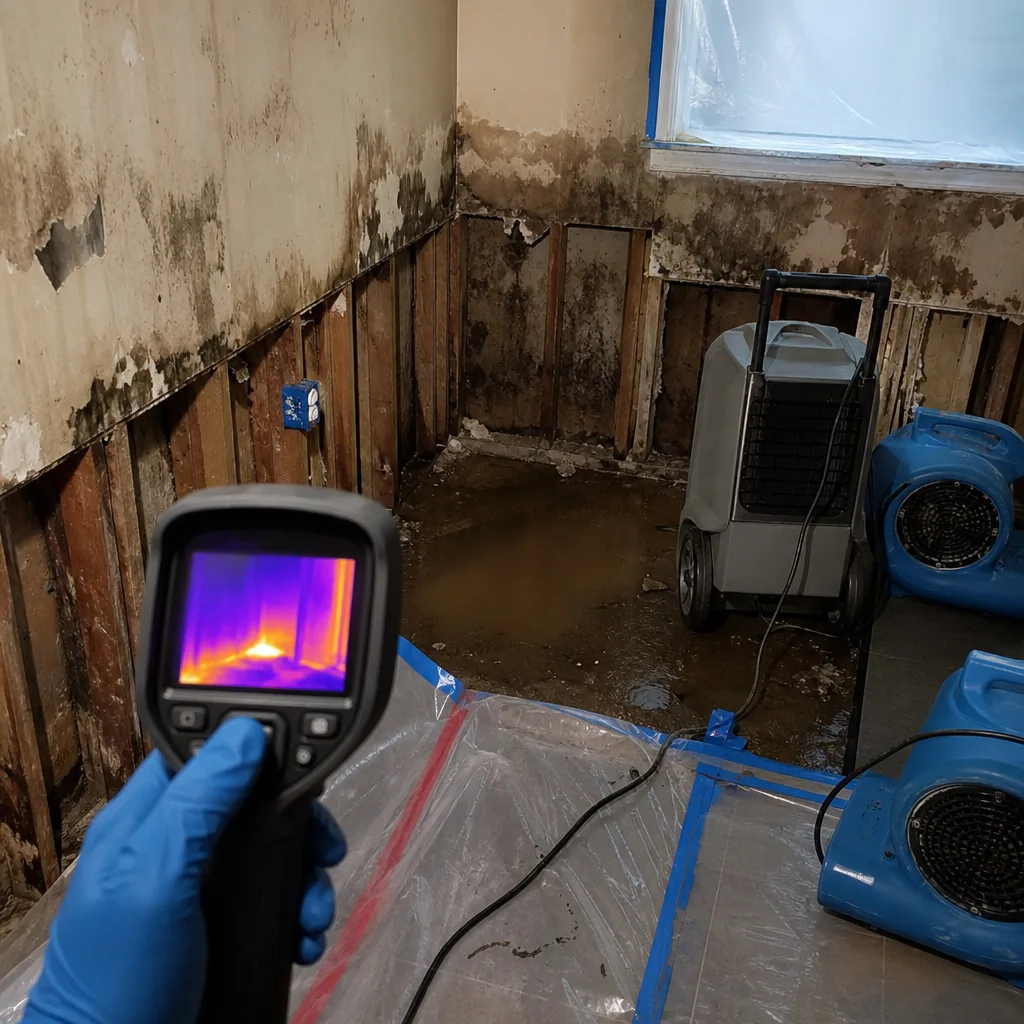 Before
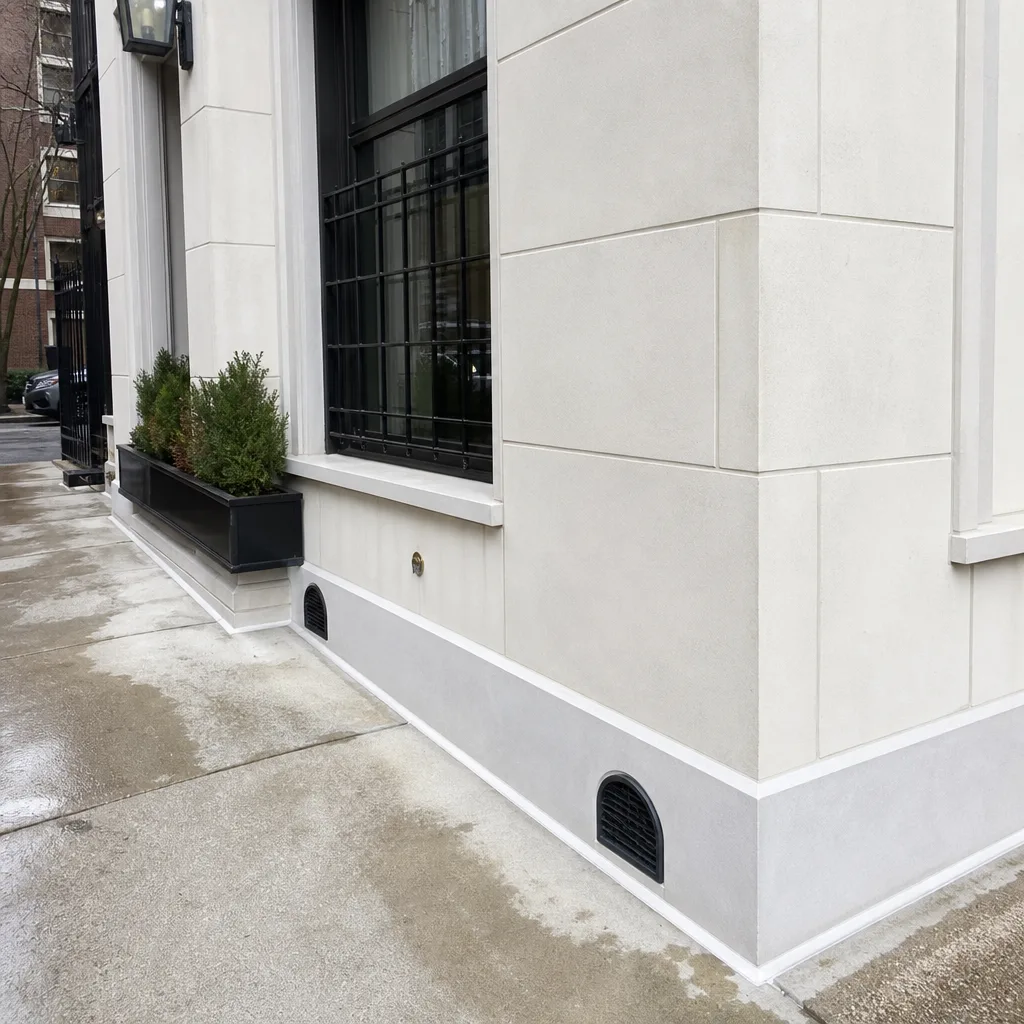 After
After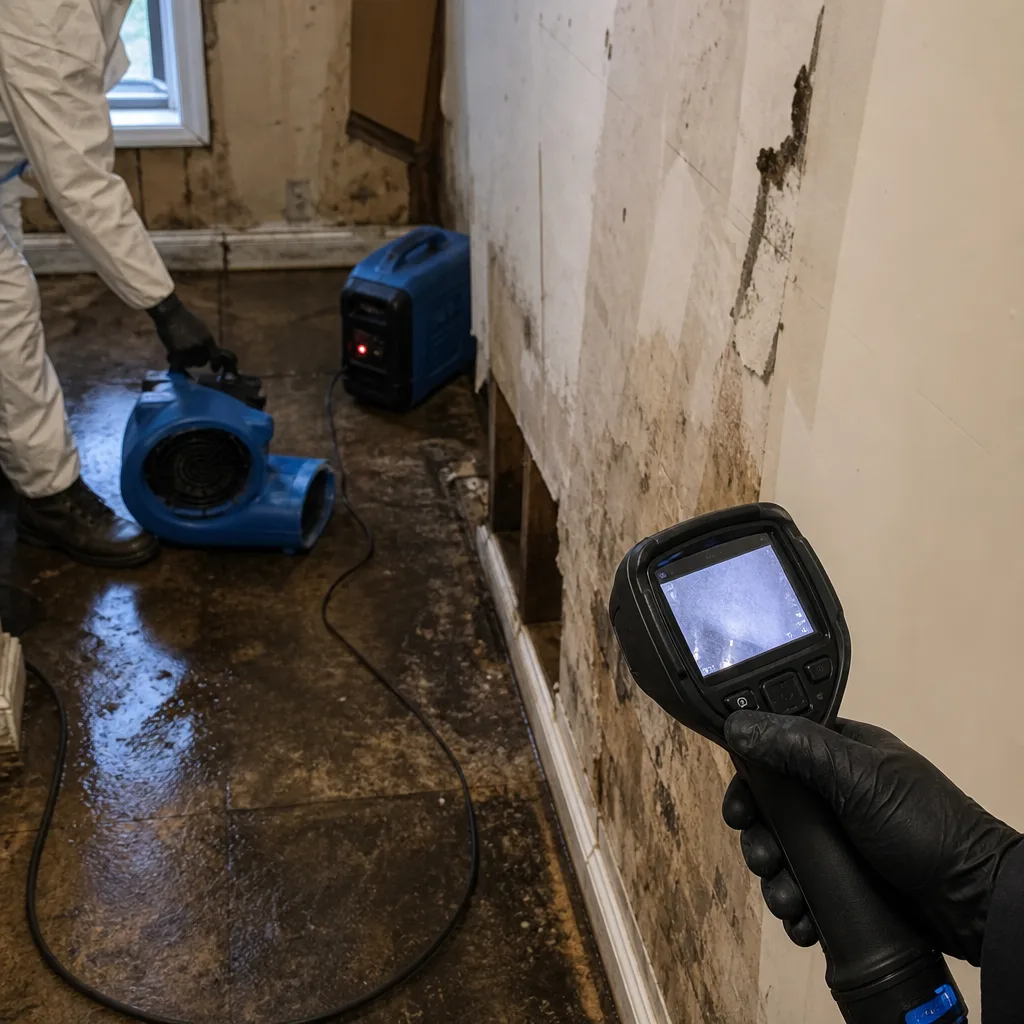 Before
 After
AfterDIY vs Professional Damage Restoration: The Midtown West Homeowner’s Decision Guide
Renting a consumer dehumidifier from Home Depot after a water event feels responsible. It feels like you’re doing something. But a residential dehumidifier removes about one-quarter the moisture of a professional LGR unit, which means you can run it for a week and still have wet framing that feeds mold for the next two years. This guide breaks down what a Midtown West homeowner can actually handle after water, fire, or mold damage, and what you should hand to someone with commercial drying equipment and a moisture log the minute you see the first sign of trouble. For a deeper look at the full process, see our How to Hire a Damage Restoration Contractor in Midtown West: A Step-by-Step Guide. By the end, you’ll know exactly where the line is between a Saturday project and a call you should have made yesterday.
Quick Answer
DIY damage restoration in Midtown West is only the right call for small, surface-level incidents: water you can wipe up with towels, drywall that’s damp but not saturated, and zero standing water in cavities. Anything that touches insulation, framing, subfloor, or a shared wall needs professional extraction, drying, and moisture documentation, because in a multi-unit building, your half-dried wall becomes the neighbor’s mold problem and your insurance adjuster’s reason to deny the claim.
Table of Contents
- The Equipment Gap: What Consumer Gear Actually Removes vs. What Your Walls Need
- The Liability Exposure of DIY in a Multi-Unit Building
- What Is Genuinely DIY-Appropriate (and What Never Is)
- How a DIY Attempt Affects Your Insurance Claim
- The One Scenario Where DIY Is the Right Call
- The 24-48 Hour Mitigation Window: Why Speed Changes Everything
- Common Mistakes to Avoid
- When to Call a Professional
The Equipment Gap: What Consumer Gear Actually Removes vs. What Your Walls Need
A consumer dehumidifier you rent from a big-box store pulls roughly 20 to 30 pints of water per day under ideal conditions. A professional low-grain refrigerant (LGR) unit, the kind Wade’s Restoration runs on Midtown West water jobs, pulls 80 to 140 pints per day, and it does it at lower humidity levels than a residential unit can even reach. That’s not a marginal difference. That’s the difference between dry framing in 48 hours and damp framing for three weeks. And damp framing in a Midtown West apartment with shared walls doesn’t stay your problem alone.
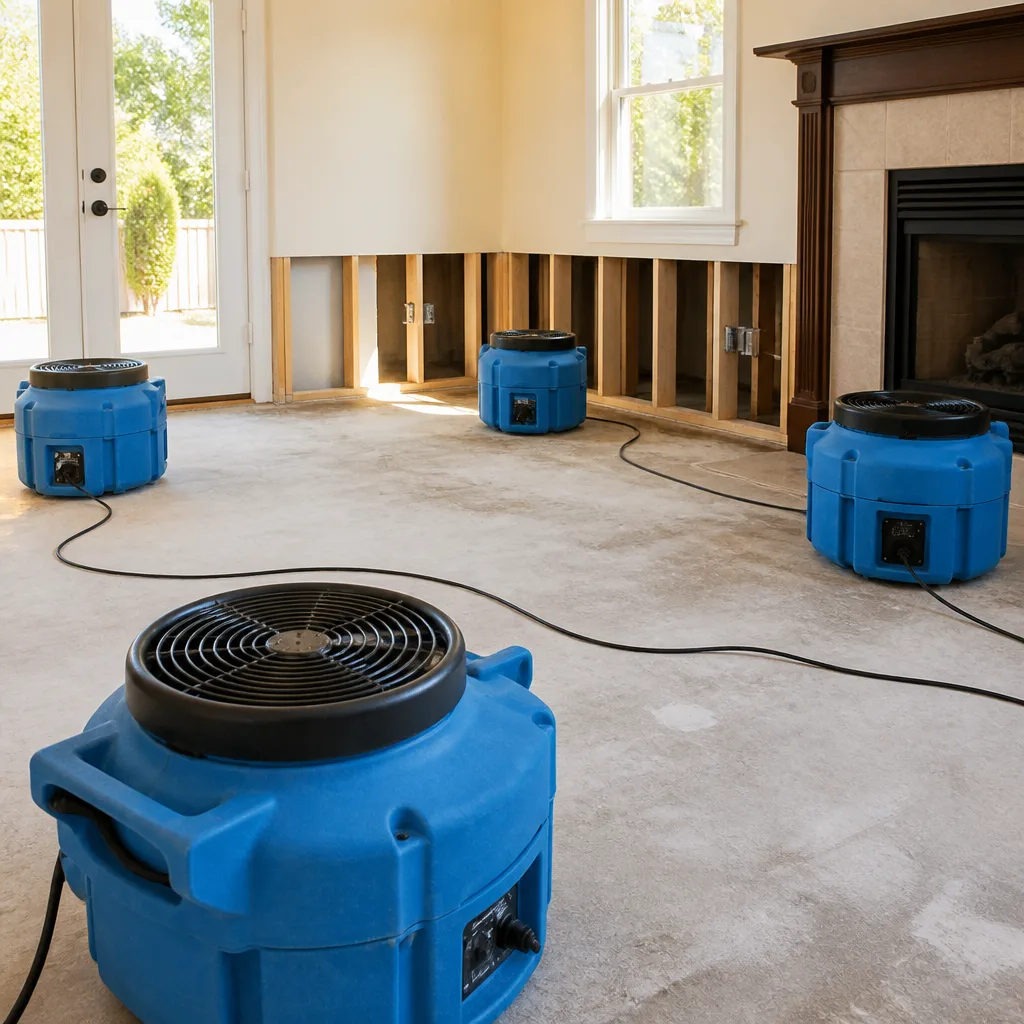
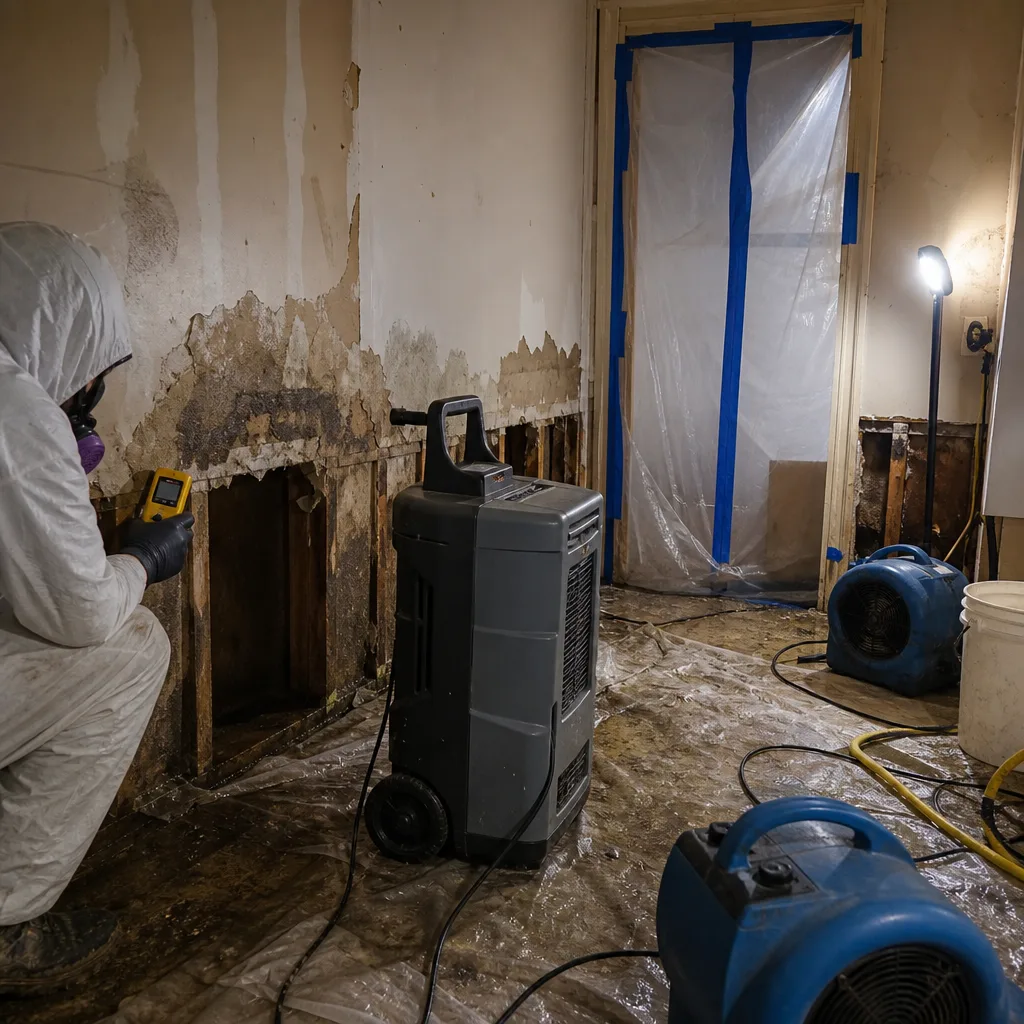
The air mover side is just as lopsided. A box fan from the closet moves air around the room. A professional axial air mover, something like a Phoenix or B-Air unit, forces air across the surface of wet materials at velocities that change the evaporation rate at the material level. You’re not just drying the air. You’re drying the sheetrock, the baseplate, the subfloor. Consumer gear doesn’t do that. It dries the air in the room and calls it a day. The materials behind the baseboard never see meaningful airflow, and that’s where the mold starts.
Then there’s the documentation gap. Wade takes moisture readings every single day on a water job and hands you the full log at the end. That log is not a formality. It’s the piece of paper that proves to your insurer that the drying was done correctly, completely, and to an industry standard. A homeowner with a rental dehumidifier has no log, no baseline readings, no dry standard comparison, and no way to prove anything was actually dry. If mold shows up six months later, and your insurer asks for the drying records, you have nothing to hand them. Adjusters know what professional drying documentation looks like. They also know what a receipt from a rental counter looks like. They treat those two things very differently.
Why the Difference Matters in a 24-48 Hour Window
Mold colonization begins on wet organic materials within 24 to 48 hours in the conditions common in Midtown West buildings, especially in summer when humidity sits high and window air conditioners drip condensation onto sill plates. That window is not “eventually.” It’s not “when you get around to it.” It’s the first two days. If you spend day one renting gear, day two setting it up, and day three noticing that the carpet still squishes, you’ve already lost the race. Professional extraction starts the hour it should, because Wade answers his own phone and can have extraction running inside the hour. That’s the difference between mitigation and remediation. Mitigation stops damage. Remediation rebuilds after it’s already spread. Mitigation is cheaper, faster, and covered by most policies. Remediation is where deductibles get eaten and claims get scrutinized.
In our experience, Midtown West homes with plaster-over-lath walls, which plenty of prewar buildings still have, dry even slower than drywall construction. Plaster holds water like a sponge and releases it reluctantly. The longer the water sits, the more the lime in the plaster breaks down, and you get efflorescence, crumbling keys, and a musty smell that penetrates the whole apartment. No rental dehumidifier fixes that. That’s a professional drying plan with daily moisture mapping, and it’s exactly the kind of situation where the Water Damage Restoration in Midtown West process matters.
The Liability Exposure of DIY in a Multi-Unit Building
In a single-family house on a slab, a botched DIY drying job is your problem alone. In a Midtown West co-op or rental building, it’s not. It’s your downstairs neighbor’s ceiling. It’s the shareholder next door whose closet shares a wall with your bathroom. It’s the co-op board that gets the complaint and sends the building super to open your wall and document what he finds. Once a board or a landlord is involved, the goodwill of “I’m handling it myself” evaporates fast. You need documentation that a professional standard was met, and you need it before the board meeting, not after.
The most common failure we see in multi-unit drying jobs is the shared plumbing wall. A supply line leaks inside the wall cavity between two apartments. The homeowner runs a fan at the baseboard for three days and declares victory. What they don’t know is that the fiberglass insulation in the cavity is soaked, the baseplate is swelling, and the moisture has wicked horizontally into the neighbor’s plaster. Three months later, the neighbor smells something musty, peels back wallpaper, and finds black staining. Now the neighbor’s insurer is involved, and the paper trail points back to your unit. Your DIY decision is now a subrogation question. In New York co-ops and condos, the proprietary lease and house rules often hold the shareholder whose unit experienced the leak responsible for damage to common elements and neighboring units. That’s not insurance doom-saying. That’s how the governing documents read.
The legal exposure is real, but the social exposure is the one that actually stings. Midtown West is a neighborhood where you see the same people every day at the corner deli, in the elevator, at the co-op annual meeting. The person whose ceiling you ruined through inaction isn’t a stranger in another county. They’re two floors down. They know where you live. The math on DIY changes completely when “I saved two thousand dollars” is followed by “and now my neighbor’s lawyer is involved.”
What Is Genuinely DIY-Appropriate (and What Never Is)
There are tasks in a damage event that are not only safe for a homeowner to handle, but genuinely helpful. Knowing these ahead of time saves you from either doing nothing or doing too much, and both errors are costly in different ways. The reasonable homeowner can do the following without professional help:
- Stop the active water source if you can do so safely. That means shutting off the fixture valve, the appliance supply valve, or the main shutoff. If you don’t know where your main shutoff is, find it today, before the next leak. In many Midtown West prewar buildings, the main valve is in the basement and controlled by the super, but individual unit shutoffs often exist behind access panels in kitchens and baths.
- Move and elevate belongings. Get books, documents, electronics, rugs, and upholstered furniture off wet surfaces and up onto blocks, tables, or counters. This is true money saved, and no professional can do it as quickly as you can, because you’re already standing there.
- Remove surface water with towels, mops, or a wet-dry vacuum if you own one and the volume is manageable. Standing water on tile or hardwood is surface water. Get it up. You’re not drying the floor, you’re preventing the water from spreading further, and that’s worth doing immediately.
- Document everything with your phone. Photos before anything is moved. Photos of the source. Photos of the wet materials. Photos of the contents. Your insurer wants time-stamped images, and you’re the only one who can take them before the scene changes. This is the single most valuable DIY task in any damage event.
- Open cabinet doors and drawers to allow air to circulate in enclosed spaces. Remove wet items from cabinets. This costs nothing and takes five minutes.
- Call your insurer and report the loss. Have your policy number ready. Describe the event factually and ask what your coverage includes for water mitigation and mold remediation.
What you should not attempt: cutting open walls, lifting carpet and pad, drilling drainage holes in ceilings, running consumer dehumidifiers as a substitute for professional drying, using a household fan to dry a wall cavity, or applying bleach to visible mold growth. Bleach doesn’t kill mold on porous surfaces, and it doesn’t address the moisture source that’s feeding it. You’re masking a problem and sometimes making the air quality worse in the process.
How a DIY Attempt Affects Your Insurance Claim
Insurance policies require the policyholder to mitigate further damage. The key phrase is “reasonable and prudent.” Using buckets under a leak and calling a plumber is reasonable. Running a rental dehumidifier for two weeks and calling that mitigation is where adjusters start asking questions. The issue isn’t that you tried to save money. The issue is that the policy language gives the insurer grounds to reduce payment for “additional damage resulting from the insured’s failure to protect the property from further loss.” That clause is in almost every homeowner’s and co-op policy, and it’s the opening adjusters use when a DIY drying job goes sideways.
The documentation gap is where this shows up most. A professional restoration firm produces a daily moisture log showing baseline readings, progressive drying, and final dry standard. That log is evidence that the drying was performed correctly. A homeowner has a Home Depot receipt and a statement that “the wall felt dry to me.” When mold appears four months later and you file a second claim for remediation, the adjuster’s first question is what was done to dry the original loss. No documentation means no proof of proper mitigation. In practice, that means the mold remediation claim gets reduced, denied, or written as excluded secondary damage. We’ve seen exactly this pattern in Midtown West apartments where a pipe leak in January became a mold claim in June because the original drying was never professionally documented.
There’s a second issue: adjusters do speak to restoration contractors. They know what a professional dry-out of a given apartment size typically costs, and they expect to see that line item on an estimate. When you handle it yourself, you’ve saved money up front, but you’ve also told the insurer something about the standard of care applied to their asset, and they take that into account on every subsequent claim at that property. The Mold Remediation in Midtown West process requires professional drying records precisely because the chain of evidence matters to the insurer.
The One Scenario Where DIY Is the Right Call
There is a genuine DIY case, and it’s important to name it clearly so you don’t overcorrect and call a professional for every small spill. For year-round prevention tips, see our Seasonal Damage Restoration Care for Midtown West: Year-Round Homeowner’s Guide. If the event is small, surface-level, and time-limited, DIY is the right call. The checklist below is the standard we tell our own friends and family to use. If you can answer yes to every item, handle it yourself and sleep fine.
- The water volume is small and fully contained. You’re looking at a puddle on a bathroom tile floor from a known source that’s now stopped. Not a burst pipe that ran while you were at work. Not water that traveled under baseboards or into a wall cavity.
- The affected surface is non-porous. Tile, sealed concrete, vinyl plank with a waterproof core, or sealed hardwood with no visible gaps. Carpet, pad, unsealed wood, drywall, or plaster are porous, and they don’t count.
- The water source is clean and known. Supply-line water, clean sink overflow, or rainwater from a sealed window. Not sewage, not a bath that soaked through the floor, not water from an unknown source.
- The standing water is gone within 30 minutes. You towel it up, mop it, dry it, and the surface is dry to the touch within half an hour. If it takes longer than that, the water has had time to migrate.
- You have the time and tools to do surface drying properly. That means a towel, a mop, and a dry cloth. Not a rental dehumidifier, not a fan, not a heat gun.
- There is no visible damage to the wall, baseboard, or floor seam. No swelling, no cupping, no paint bubbling, no separation at the seams.
If you check every box, that’s a household spill, not a restoration job. Document it with a few photos, set a reminder to check the area in one week and again in one month for any odor, staining, or discoloration, and move on with your life. What you’re looking for in that follow-up is any sign that moisture got somewhere you didn’t see. If you find it, call a professional immediately. Do not wait for the next sign to get worse. The window for cheap, effective remediation closes fast, and in a Midtown West building with shared walls, you don’t get the benefit of the doubt.
The 24-48 Hour Mitigation Window: Why Speed Changes Everything
Water damage restoration works on a clock. The first 24 to 48 hours after a water event is the mitigation window, and it’s the period when professional drying is fastest, cheapest, and most effective. After that window closes, the damage changes categories. What was extraction and drying becomes tear-out and rebuild. What was a deductible claim becomes a much larger out-of-pocket expense. In Midtown West, where many buildings have decades of layered flooring, settled joists, and original plaster, the window closes even faster, because the materials are old enough to absorb water with enthusiasm.
The clock starts the moment the water stops flowing, not when you discover it. If a supply line failed at 11 p.m. and you found it at 7 a.m., you’re already eight hours into the window before any action is taken. If you then spend the morning calling around, comparing rental rates, and reading articles like this one, you’re six hours deeper. The window isn’t theoretical. It’s a physical fact about how mold spores, which are already abundant in New York City building air, respond to moisture and time.
Temperature matters too. A water event in a Midtown West apartment in August, with no central air and high ambient humidity, produces mold-favorable conditions faster than the same event in January, when the steam heat has the air dried out. But the heating season brings its own problem: radiators dry the surface layer of the wall while the cavity behind it stays wet, creating a perfect concealed-moisture trap. Surface touch-testing misses this. Only a moisture meter in the right hands catches it. This is why professional extraction isn’t just about equipment. It’s about knowing where to look, and knowing that your building’s age and construction type, not just the volume of water, determines the drying plan.
When Wade’s crew runs a water job in Midtown West, the first hour is extraction and the next 48 are controlled drying with daily readings and adjustments. That’s not a sales pitch. That’s what the Wade’s Restoration home process is built on: documented, measured drying that holds up when your insurer reviews the file. The alternative, which is what DIY becomes after hour 48, is hoping. Hoping isn’t a mitigation strategy.
Common Mistakes to Avoid
- Using bleach on visible mold. Bleach doesn’t kill mold on porous surfaces, and its high water content actually provides the moisture that remaining mold needs. You’re feeding the problem while making the surface temporarily look cleaner. In Midtown West apartments with limited ventilation, you’re also adding bleach fumes to indoor air with nowhere to go.
- Running a household fan on wet drywall. A box fan moves air across the surface and dries the visible face while the cavity stays soaked, which is the worst possible outcome: the outside looks fine and the inside rots quietly. Wall cavities need directed airflow and pressure differentials, the kind of drying plan that professional air movers and Injectidry systems create.
- Waiting for “everything to dry on its own.” Porous building materials in New York’s humidity do not air-dry on their own in a useful timeframe. They reach equilibrium with ambient humidity, which is too wet for mold prevention. You’re waiting for a process that physics won’t deliver.
- Not documenting before moving anything. Your phone camera is the cheapest mitigation tool you own. After the space is disturbed, the documentary record of what was wet and where is gone, and your adjuster’s ability to verify the loss goes with it. In a co-op or condo claim in Midtown West, the board’s insurance query follows your documentation, and missing photos make every subsequent conversation harder.
- Calling a national franchise by its 800 number and getting a call-center quote. The national chains in this trade are famous for quoting one number on the phone and a different one once the van is parked in front of the building. Ask for the owner’s name, ask for the local address, ask who answers if there’s a problem at 2 a.m. If the answer is “our 24-hour service line,” you’re not buying local accountability.
- Renting a dehumidifier and thinking it’s the same as professional drying. It’s not the same machine, not the same volume, and not the same documentation. A rental dehumidifier is a floor-drying tool for a damp room. A professional LGR unit is a structural drying tool for a wet building. Those are different jobs.
- Opening up a wall yourself to “check.” Once you cut into a wall in a Midtown West co-op or rental, you’ve just done unpermitted work on building structure, and in many buildings, the alteration clause in your lease or proprietary lease requires board approval for any work behind finished surfaces. You’ve also potentially exposed yourself to whatever is in the cavity: old plaster, possible asbestos in pre-1980 buildings, and the water you’re trying to find. Let a professional with proper containment do that.
When to Call a Professional
Call a professional when the water touched anything porous, when the source wasn’t clean, when the event lasted long enough for you to wonder if it might be bad, and when the affected area is in or near a shared wall, ceiling, or floor. Call when you smell something musty that persists. Call when you see staining, bubbling paint, or separations at the seams. Call when your insurer asks for documentation you don’t have. If you’re in Midtown West and you’re not sure, Wade’s Restoration offers free estimates, and the second opinion is free too. Wade’s had his name on the truck since 2007, and you’ll reach a live person at (607) 703-3408, not a queue.
Frequently Asked Questions
Small, contained extraction and drying jobs in Midtown West apartments typically start in the $800 to $1,500 range depending on square footage and the number of affected rooms, while larger events involving multiple rooms or shared-wall cavities run $3,000 to $7,000 and up based on the drying days required and the extent of tear-out. Fire & Smoke Damage Restoration in Midtown West and mold remediation are priced differently, because the protocols and labor differ. The only way to get a real number is a walkthrough with a moisture meter, and Wade’s estimate is free. Call (607) 703-3408.
Most homeowners, co-op, and condo policies cover sudden and accidental water damage from a burst pipe or an appliance failure, subject to your deductible and policy limits. Gradual leaks, seepage, and lack of maintenance are often excluded, which makes the failure to mitigate a gradual problem a coverage issue, and the 90-Day Done Right Promise on our water jobs means if the drying wasn’t done right, we make it right in writing, no call-center runaround. Wade deals with your adjuster directly, so you’re not the one relaying numbers between two parties that don’t answer to each other.
Wade answers his own phone, day or night, and if you’re in his county, there’s no trip charge. He can have extraction equipment running inside the hour in most Midtown West situations. The 24-48 hour mitigation window is real, and it’s why we don’t route calls through an answering service. You call, he picks up, he heads out. Ask anyone on your street if you want to know how that actually works.
It depends entirely on what got wet and how long it stayed wet. Surface cleaning is for surface contamination. If water migrated into a wall cavity, under flooring, or into insulation, cleaning the visible surface is cosmetic, and the mold will return. A moisture meter tells the difference in five minutes. If you’re in Midtown West, the free second opinion on any written estimate is a standing offer from Wade’s Restoration, and there’s a $40 discount on any repair over $200. You’ll get a straight answer, not a scare tactic.
Wade deals with the adjuster directly. That’s part of the service, and it’s the part that saves you hours of phone tag with a claim representative who only works Tuesdays and Thursdays. He documents everything, takes daily moisture readings, and hands you the full log at the end of the job. Almost nobody in the trade does that, and it changes the entire claim conversation. When the adjuster sees professional drying records instead of a rental receipt, the claim moves differently.
Stop the water at the nearest shutoff, move belongings off wet surfaces, take photos of everything before you disturb anything, and call Wade’s Restoration at (607) 703-3408. The first hour is when the right call saves you days of drying and thousands in secondary damage. If the water is from sewage or you suspect it’s not clean, do not touch it. Shut the door, warn anyone else in the unit, and call. Biohazard contamination is not a DIY scenario, ever.
The Bottom Line
DIY damage restoration in Midtown West has a narrow lane where it works, and it’s smaller than most homeowners think. Surface spills on non-porous floors within 30 minutes: handle it yourself, document it, and check back in a month. Anything that touches porous building materials, shared walls, insulation, or structural framing: the risk isn’t just your own home, it’s your neighbor’s home, your co-op board’s file, and your insurance claim’s future. The equipment gap is real, the documentation gap is real, and the liability gap in a multi-unit building is the one nobody tells you about until it’s too late. Wade Ferris has seen every version of this in Midtown West since 2007, and he’ll give you a straight answer over the phone, no charge for the question. Explore more guides & resources on protecting your home. Call (607) 703-3408.
Written by Wade Ferris, Owner at Wade’s Restoration, serving Midtown West since 2007.