
Last updated August 26, 2026
Free visual inspection and a written scope of work before any mitigation begins - photos, moisture readings, and drying logs go in your claim file
The scope we write is the scope we bill. Anything new gets shown to you, in writing, before we touch it.



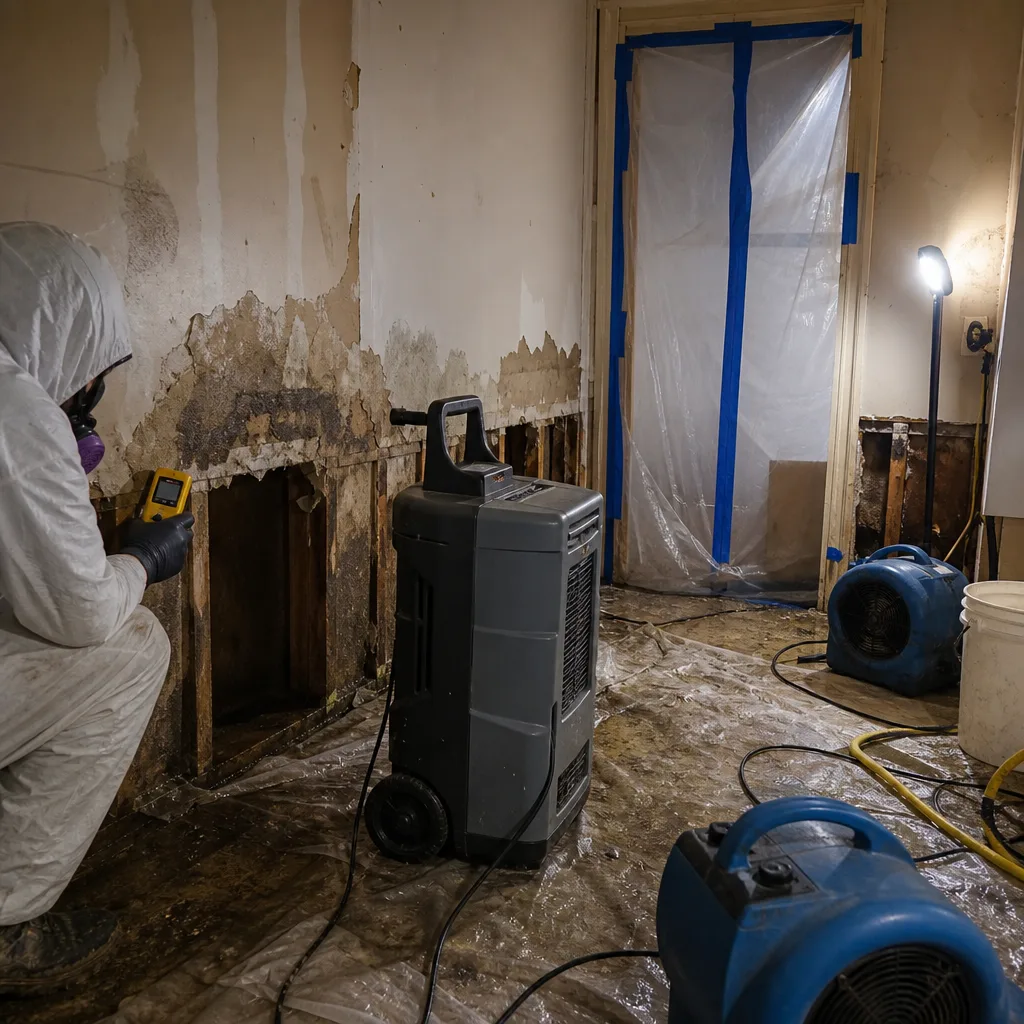 Before
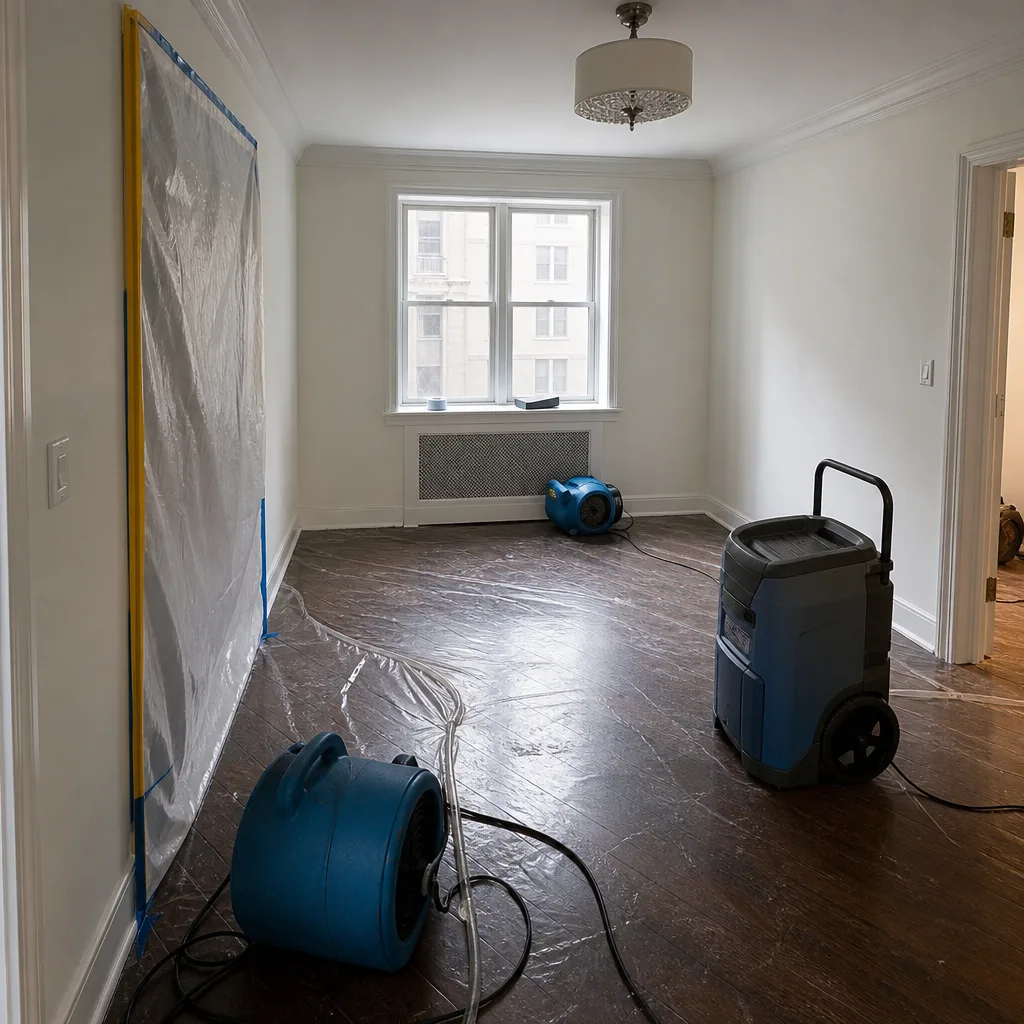 After
After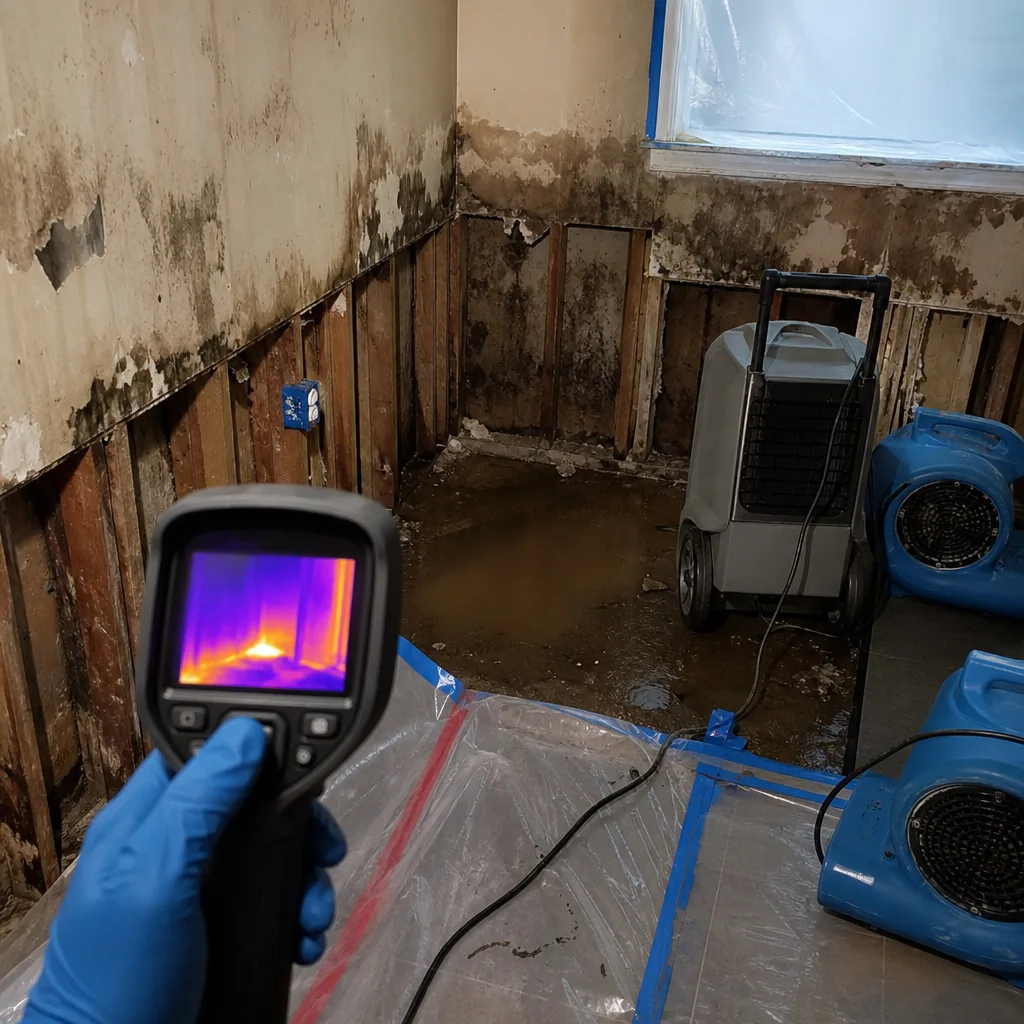 Before
 After
After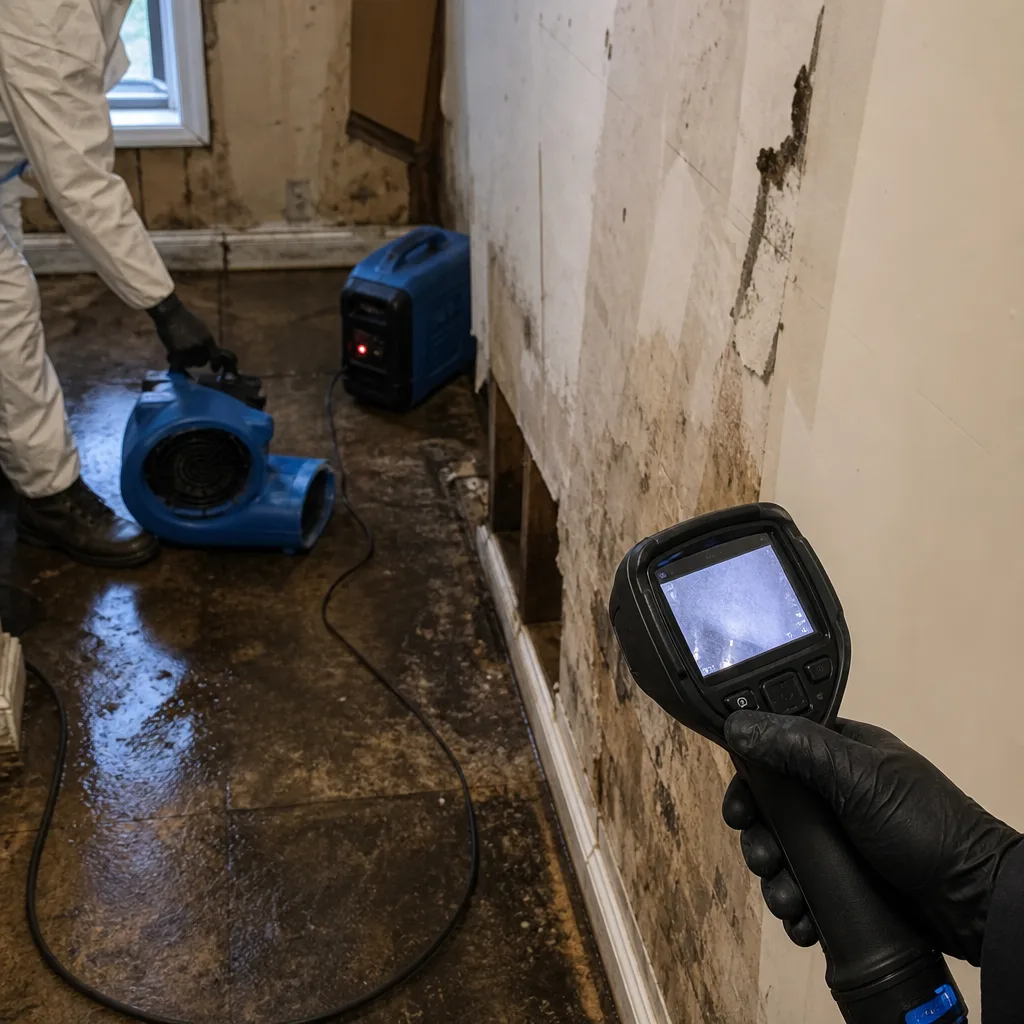 Before
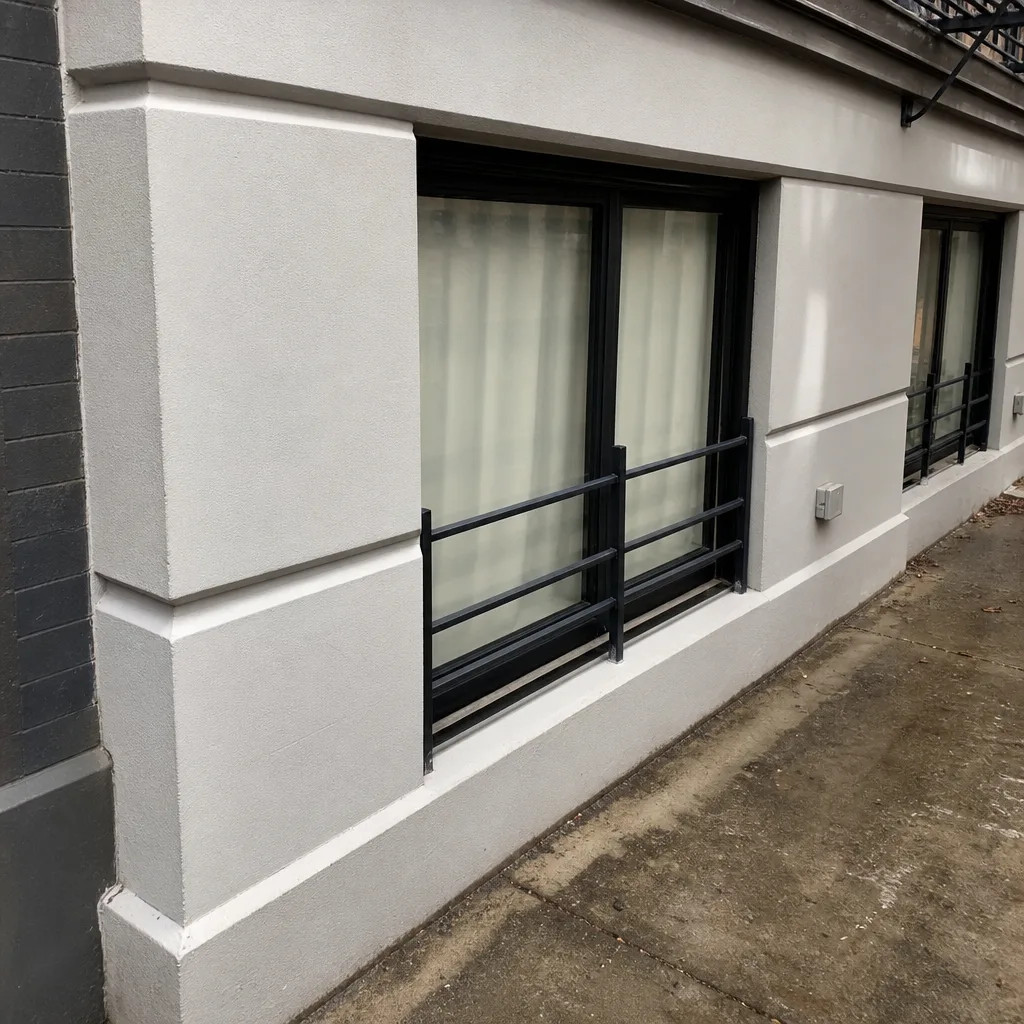 After
AfterWater Damage Restoration Maintenance Checklist for Midtown West Homeowners
Most water damage in Midtown West doesn’t start with a storm or a burst pipe in the wall. It starts with something small, ignored for months, that finally lets go on a Tuesday morning. Three things cause the majority of preventable water damage we’ve documented in Midtown West buildings since 2007: failed washing machine supply lines (not the rubber hoses everyone knows about, the braided steel ones people think are bulletproof), PTAC units with clogged drain pans, and bathroom caulk that looks fine from three feet away and is completely rotted at the wall junction. This checklist walks you through what to check, what it looks like when it’s about to fail, and how to document your home so an insurance claim goes smoothly if something does go wrong.
Quick Answer
A water damage prevention checklist for Midtown West homeowners means inspecting washing machine supply lines, PTAC drain pans, bathroom caulk and grout, under-sink connections, and roof drains twice a year. The whole inspection takes under an hour and costs nothing. Doing it consistently catches the failures that cause 80% of the water damage we see before they happen.
Table of Contents
- Washing Machine Supply Lines: The Failure Nobody Expects
- PTAC Unit Drain Pans: The Midtown West Problem Most Guides Skip
- Bathroom Caulk and Grout: What a Failing Seal Looks Like Before It Leaks
- Under-Sink Connections and Shutoff Valves
- Roof Drains and Parapet Walls for Townhouse and Low-Rise Owners
- Documenting Your Pre-Damage Condition in Under 20 Minutes
- Seasonal Timing: When to Run Each Inspection in Midtown West
Washing Machine Supply Lines: The Failure Nobody Expects
Braided steel supply lines were supposed to solve the rubber hose problem. And they did, for about ten years. What we’ve learned in Midtown West is that braided steel lines fail in a specific way: the stainless braid corrodes from the inside out, usually where the line meets the brass fitting. You can’t see the corrosion because it’s under the braid. By the time it’s visible, the line is days or hours from blowing out.
Here’s what to look for when you inspect your washing machine supply lines:
- Brown or rust-colored staining on the braid. This means the inner rubber tube has already started to fail and water is wicking through the braid. Replace immediately.
- Bulging anywhere along the line. Run your fingers along the braid. It should feel uniformly round. A bulge means the rubber tube inside has herniated and is pressing against the braid.
- Green or white crust at the fitting. This is mineral deposit from a slow weep at the crimp point. It’s not a cosmetic issue. It means the crimp is failing.
- Age. If the lines are more than ten years old, replace them even if they look fine. We’ve pulled apart lines that looked brand new on the outside and were rotted through inside.
- Kinks or sharp bends. A braided line that’s been forced into a tight radius has compromised braids. The strength is gone at the kink point.
Replacement lines cost $15 to $30 at any hardware store. A blown supply line in a Midtown West apartment dumps 6 to 8 gallons per minute. In a third-floor unit, that means water through the ceiling of the second floor within 20 minutes and into the lobby within the hour. This is the single highest-return maintenance item on this entire list.
One more thing: turn the water off at the wall valve if you’re leaving town for more than a weekend. It takes ten seconds, and it eliminates the single most common catastrophic failure we respond to in Midtown West on holiday weekends.
PTAC Unit Drain Pans: The Midtown West Problem Most Guides Skip
PTAC units, the through-wall heating and cooling units in most Midtown West apartments and condos, produce condensation whenever they run in cooling mode. That water drains through a pan and out a drain line. When the drain line clogs, which it does more often than most people realize, the pan overflows and the water goes somewhere else: into the wall cavity, onto the floor, or down into the unit below.
We’ve extracted water from PTAC drain pan overflows in nearly every building type in the neighborhood, from pre-war co-ops on Central Park South to newer conversions on Tenth and Eleventh Avenues. The damage is consistent: water wicks into the drywall around the unit, mold starts within 48 hours, and the repair requires cutting out and replacing the lower section of wall around the unit.
Here’s the inspection protocol for a PTAC unit:
- Look at the drain pan directly. Pull the front cover off the unit. The drain pan is at the bottom. If there’s standing water in it, the drain line is clogged and the unit is already overflowing internally.
- Check the corners of the pan for rust. Rust means the pan has held water repeatedly. The pan may have pinholes you can’t see. Replace it.
- Look for water staining on the wall below and around the unit. If the paint is bubbling, peeling, or showing brown discoloration under the unit, water has been getting out of the pan for a while.
- Check the floor under the unit. Hardwood that’s cupped or buckling, tile that’s loose, or carpet with a musty smell under the PTAC means it’s been leaking.
- Pour a cup of water into the pan. It should drain freely. If it sits there, the drain line is clogged and needs to be cleared with a wet-dry vac or by a professional.
Building management may handle PTAC maintenance in rental buildings, but if you own a condo or co-op in Midtown West, the unit and everything it damages is usually your responsibility under your building’s governing documents. Check your unit twice a year, at the start of cooling season in May and again in August.
For more on what happens when a leak gets into walls and floors, see our guide to Water Damage Restoration in Midtown West.
Bathroom Caulk and Grout: What a Failing Seal Looks Like Before It Leaks
Here’s the thing about bathroom caulk in Midtown West: almost every bathtub and shower surround in the neighborhood was caulked wrong at some point. The original seal fails, someone applies new caulk directly over the old caulk, and now you have two layers of failing material that both look acceptable from standing height.
What a failing seal actually looks like, examined closely:
- Caulk pulling away from the tile or tub. A hairline separation at the corner means water is getting behind the seal. It’s not a matter of if it leaks, it’s how much it’s already leaked.
- Black or pink staining on the caulk. Black is mold growing in trapped water. Pink is a bacteria that feeds on soap scum and moisture. Both mean water is not drying out, which means water is getting somewhere it shouldn’t.
- Soft or spongy caulk. Caulk should feel firm and rubbery. If it feels soft, it’s saturated and holding water against the wall.
- Crumbling grout in the tile field. Missing grout between tiles is an open channel for water to reach the wallboard behind the tile. In a Midtown West bathroom, that wallboard is often drywall, not cement board, and it wicks water like a sponge.
- Discolored or swollen baseboard adjacent to the tub or shower. The leak has already traveled through the floor and into the surrounding walls.
The fix is straightforward: cut out the old caulk completely with a utility knife, clean the joint with denatured alcohol, let it dry completely, and apply a fresh bead of 100% silicone caulk. Silicone, not acrylic latex. Acrylic latex peels away from glazed surfaces within a year. Silicone lasts a decade if applied correctly.
If the grout is failing in a large area, removing and regrouting is a bigger job that requires a professional. Regrouting a standard Midtown West tub surround is a one-day job and it’s far cheaper than the mold remediation that follows a long-term grout leak. If you’re already seeing mold, see our Mold Remediation in Midtown West page.
Under-Sink Connections and Shutoff Valves
Under every sink in a Midtown West home sits the most neglected plumbing in the building. Supply lines and shutoff valves hide behind cabinet doors for years, and when they fail, they fail while you’re asleep or at work. A failed under-sink supply line runs at full water pressure, and because it’s hidden behind a closed cabinet door, the first sign of the problem is water coming through the ceiling of the apartment below.
Here’s the under-sink inspection, kitchen and bathroom both:
- Open every cabinet and look at the shutoff valves. Green crust, white buildup, or rust around the valve stem means the valve is leaking slowly. Turn the valve off and on. If it’s stuck, it needs replacement.
- Feel the supply lines. Braided steel lines should feel dry. Any dampness means a pinhole leak. Rubber lines should be replaced with braided steel, period.
- Look for dark staining on the cabinet floor. Particleboard cabinets absorb water and darken. The stain tells you how long water has been sitting there.
- Check the P-trap. The trap should be dry on the outside. Wet spots mean a slow leak at the slip joints, which is usually fixed by hand-tightening the nuts a quarter turn.
- Inspect the drain pipe where it enters the wall. If the escutcheon plate is discolored or there’s staining on the wall behind the sink, water has been getting out of the pipe at the wall connection.
The shutoff valves are the hidden risk here. Most Midtown West apartments have original shutoff valves if the building predates the 1990s, and those valves were not designed to last 40 or 50 years. If a valve is original and you’ve never replaced it, replace it now. A plumber can do it in under an hour per sink, and the cost is less than the deductible on most water damage claims.
Roof Drains and Parapet Walls for Townhouse and Low-Rise Owners
If you own a townhouse or low-rise building in Midtown West, your roof is a water management system that most people never think about until it fails. Flat roofs, which cover most of the older building stock in the neighborhood, drain through interior roof drains or scuppers at the parapet. When those clog, water ponds on the roof and finds the path of least resistance, which is usually a seam in the roofing membrane or a crack in the parapet flashing.
Roof inspection points for Midtown West townhouse owners:
- Roof drains and scuppers. Clear leaves, plastic bags, and construction debris. Midtown West gets enough wind-blown debris off the Hudson River corridor that drains can clog in a single season. A clogged drain means standing water, and standing water on a flat roof means a leak within days, not months.
- Parapet wall flashing. The metal flashing where the parapet meets the roof membrane is the most common leak point on Midtown West low-rises. Look for lifted or cracked flashing, missing sealant, and rusted metal. Water getting behind the flashing rots the masonry over time, and the repair gets more expensive every year it’s deferred.
- Roof membrane seams and penetrations. Look for bubbles in the membrane, visible cracks, and areas where the membrane has pulled away from vents, pipes, or skylights. Any of these is an active or imminent leak.
- Interior water stains on the top floor ceiling. By the time a roof leak shows up on a ceiling, it’s been leaking for weeks. Don’t wait for that.
Fall is the critical inspection window in Midtown West. The week before the first freeze, you want roof drains clear and all flashing sealed. Water that gets into a roof system before a freeze expands when it freezes, and freeze-thaw cycles are what turn a $500 flashing repair into a $20,000 roof replacement.
If roof water does get inside and causes ceiling or wall damage, see our Water Damage Restoration in Midtown West guide for what happens next.
Documenting Your Pre-Damage Condition in Under 20 Minutes
This is the step that changes insurance claims from a fight into a formality. When water damage happens, your insurer will ask what condition the property was in before the event. If you can’t prove it, the adjuster’s default assumption is that the damage predated the event. A 20-minute documentation pass through your home twice a year solves this completely.
Here’s the phone camera protocol we recommend to every Midtown West homeowner, based on what adjusters have actually told us they need to see:
- Walk every room and shoot video continuously, no narration needed. Open every closet door, every cabinet, every room. Start at the front door and work clockwise. This takes 5 minutes.
- Take still photos of the big-ticket items. Wood floors, custom millwork, built-in shelving, kitchen cabinets, bathroom tile. Three photos per room minimum: wide shot, middle shot, close-up of the floor.
- Photograph the mechanical areas. Under every sink, the washing machine supply lines, the water heater, the HVAC equipment, and the PTAC unit. These are the areas that fail, and having before-photos of a failed supply line is strong evidence in a claim.
- Photograph the ceilings. Especially in the rooms below bathrooms and kitchens. Ceiling stains are the primary evidence of a water event, and pre-damage photos prove the stain wasn’t there before.
- Email everything to yourself with a date in the subject line. Cloud storage is fine, but an email creates a timestamp that’s hard to argue with. Or upload to a dedicated folder in your photo library.
Total time: under 20 minutes per session. Do it in April and October. If you need to file a claim, you’ll have a complete record of your home’s condition, and your adjuster will have a much harder time disputing the scope of damage.
We deal with adjusters directly on every job we do in Midtown West, and we’ve seen the difference good documentation makes. It’s the single highest-leverage thing a homeowner can do before anything goes wrong. It costs nothing and it protects your largest asset.
Seasonal Timing: When to Run Each Inspection in Midtown West
Midtown West has a specific climate rhythm, and the maintenance items on this list map to it. Here’s a simple seasonal schedule that fits the neighborhood’s weather patterns:
April (spring inspection):
- Washing machine supply lines, full inspection and replacement if needed
- Under-sink connections and shutoff valves, every sink
- Bathroom caulk and grout, all bathrooms
- PTAC drain pans before cooling season starts
- Documentation pass #1
August (late summer follow-up):
- PTAC drain pans again, mid-cooling-season
- Bathroom caulk spot-check, especially in the shower that gets daily use
- Under-sink connections in the kitchen, the highest-traffic sink
October (fall inspection):
- Roof drains and parapet walls, full inspection and cleaning
- Washing machine supply lines, second check of the year
- Documentation pass #2
- Shutoff valve test on every valve in the home, quarter-turn exercise to prevent seizing
This schedule takes about an hour in April, 30 minutes in August, and an hour in October, plus the roof inspection if you’re a building owner. That’s roughly three hours per year of prevention against water damage events that average $3,000 to $15,000 in Midtown West apartment buildings. We’ve been doing this work since 2007, and the buildings that run this schedule don’t call us for emergencies. They call us for the occasional repair, and that’s the point.
Common Mistakes to Avoid
- Assuming braided steel supply lines are failure-proof. They’re not. The braid hides the rubber tube that’s actually holding the water, and that tube fails on a timeline, not when it looks bad. Every braided line over ten years old is a loaded gun.
- Caulking over old caulk. New caulk doesn’t bond to old caulk. It forms a cosmetic seal that fails within months. Every recaulk starts with complete removal of the old bead.
- Ignoring a PTAC unit because it still cools. A PTAC unit can cool perfectly while its drain pan overflows into your wall. Cooling performance and drainage are two separate systems.
- Waiting until you see a ceiling stain to investigate roof drains. A ceiling stain means water has already saturated insulation and drywall. The time to clear roof drains is before the water accumulates, not after it’s inside.
- Skipping the documentation pass because it feels unnecessary. It’s the one item on this list with zero cost and the highest potential payout. Homeowners who document their pre-damage condition get claims approved faster and settled higher, full stop.
- Using acrylic latex caulk in bathrooms. Latex caulk fails in a humid bathroom environment within a year or two. Silicone is the only material that holds a bathroom seal long-term.
- Assuming building management handles everything. In Midtown West condos and co-ops, the unit owner is typically responsible for everything from the walls in, including the PTAC unit and all plumbing within the unit. Check your governing documents.
When to Call a Professional
Some things on this list are do-it-yourself items: checking supply lines, clearing a PTAC drain pan, documenting your space. Other things need a professional. If you find water staining on a ceiling or wall, active mold, a bulging supply line, a shutoff valve that won’t turn, standing water in a PTAC pan that won’t drain after you clear it, or a roof leak, don’t wait. Water damage compounds hourly under Midtown West building conditions. Wade’s Restoration offers free estimates in Midtown West, call (607) 703-3408 and Wade will walk you through what you’re looking at before he even gets out the door. We’ve been answering that phone around the clock since 2007, and it’s the same number today.
Frequently Asked Questions
Twice a year, in April and October. Replace any braided steel lines over ten years old regardless of appearance. The failure mechanism is internal, and by the time damage is visible on the braid, the line is ready to blow.
Look for water staining on the wall directly below the PTAC unit, bubbling or peeling paint around the unit, loose or cupped flooring under it, and standing water in the pan itself. Any of these means the drain line is clogged or the pan has failed. Call (607) 703-3408 if you’re seeing water where it shouldn’t be.
In most cases, yes. Sudden and accidental water damage from a supply line failure is a covered peril under standard homeowners and condo policies. However, if the line was visibly corroded and the failure was gradual, the insurer may dispute the claim. This is exactly why the documentation protocol in this guide matters, and why we handle adjuster communication directly on every job.
Wade answers his own phone, day or night. In Midtown West, he can typically have extraction running inside the hour. Call (607) 703-3408 and you’ll talk to a live person who owns the company, not a call center. That matters at 2am when water is spreading through your ceiling.
It depends on what got wet and for how long. Drywall that stayed wet for more than 48 hours usually needs to be cut out and replaced, because mold starts growing in that window. Hardwood floors can sometimes be saved with professional drying equipment, sometimes not. The only way to know is to take moisture readings, which Wade does every single day on every job and hands you the full log at the end. That’s the standard we’ve held since 2007.
Wade does. Directly. You’re not the one relaying information between your insurance company and a restoration crew. That’s the arrangement we’ve had with Midtown West homeowners for years: you call us, we document the damage, and we speak to the adjuster in the same language they speak. It’s one of the reasons people in this neighborhood call us first. For more on the full restoration process, see Water Damage Restoration in Midtown West.
The Bottom Line
Water damage is the most preventable expensive problem in a Midtown West home. The supply lines, PTAC drain pans, caulk joints, and roof drains that cause the majority of damage all give warning signs before they fail, and this guide gives you the schedule to catch them. Three hours a year of inspection work protects against events that average in the thousands of dollars, and a 20-minute documentation pass protects your insurance claim if something does happen. If you find something that needs a professional eye, or water is already moving through your home right now, call Wade at (607) 703-3408. He’s been answering that phone in Midtown West since 2007, and he’ll tell you straight what you’re dealing with, whether or not you hire him. Learn more about Fire & Smoke Damage Restoration in Midtown West or start at the Wade’s Restoration home page.
Written by Wade Ferris, Owner at Wade’s Restoration, serving Midtown West since 2007.